
This post contains affiliate links to products. We may receive a commission for purchases made through these links.
You probably are like damn I want to start a blog but don’t know where to start. I am glad you stopped by because I am here to help. Starting a blog is definitely not easy. It requires a lot of work before launch day.
Step 1: Niche
What is your niche? Pick a blog topic you are passionate about. Is it food? Is it beauty? Is it couponing? It comes down to what type of blogger do you want to be. My niche is lifestyle because I will be touching on everything and don’t fit into a particular space.
Examples
- Food
- Lifestyle
- Beauty
- Natural Hair
- Fashion/Style
- Writer
- Home Décor/Renovation
Step 2: Name
A name is important. Is it catchy? Do you like it? Make sure the name of your blog/brand aligns with your vision and what you are talking about. When thinking about a name for your blog, just remember that is something you will want to keep for awhile. I rebranded from daxolife because the name was not sticking with me. I would just spendsome time when coming up with something that represents your brand well.
Step 3: Hosting and Domain
In order to start a blog, you need somewhere to host it. You can go with the free versions of Blogger, WordPress.com or Squarespace, but you won’t be able to monetize your site at anytime. I recommend using a Self Hosted WordPress blog. Paying for a blog seems crazy if you are just starting out, but it is worth it.
For hosting, I went with Hostinger. They have some really wonderful plans you can select what type of hosting you want. I seen prices as low as $0.80 a month for 1 or 2 years. Make sure you pick a great domain and .com is always best.

Click here to get started with Hostinger
Once you have committed to your hosting, be sure to setup your email right now. You can either utilize an email with your domain name inside of your host or create a free email via Gmail or others alike. Choosing Office 365 for email works for me but there are other tools I use within it as well to make blogging organization easier and better.
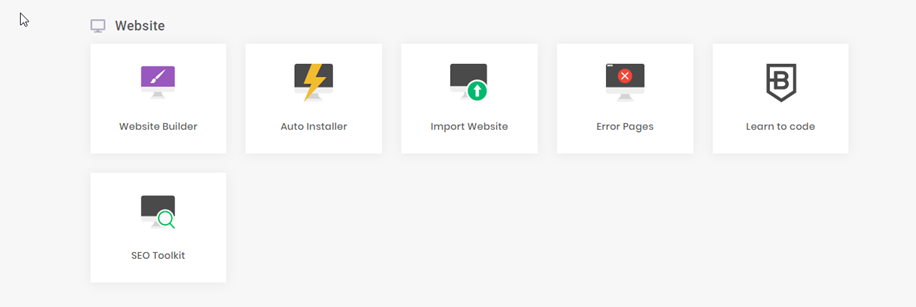
Step 4: WordPress
You will need to install WordPress onto your site. Hostinger has a quick install that you can do and it will be setup for you in a matter of minutes.

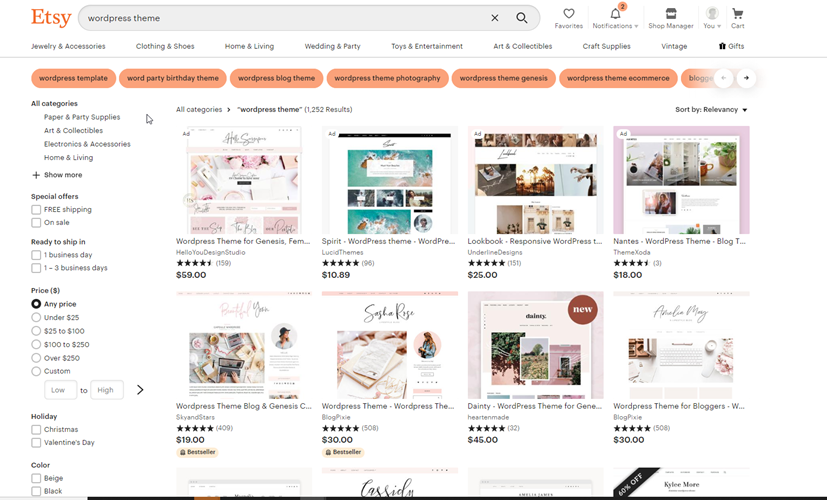
Step 5: Theme
Time to figure out your theme. Blog themes can range from inexpensive to expensive. I paid less than $20 for mine from Etsy. There are some really great creators out there taking the hard part away from you and making these themes. And I think it is important to invest if you want your site to have a certain aesthetic. You will also be provided instructions on how to upload your theme into WordPress.
Step 6: Plugins
Add your plugins to WordPress. You will need plugins to have your site look and function the way you want it to.
- JetPack
- Yoast
- Coming Soon Page, Under Construction & Maintenance Mode by SeedProd
- Google Analytics
- WP Instant Feeds
Step 7: Branding
Branding is so important when starting a blog. You want to drive traffic and convert your readers into subscribers.
- Logo
- Fonts and Colors
- Vision
- Social Media
Logo
A logo is for your brand. Make sure you create or have someone create what’s in your vision.

Fonts and Colors
With your theme, you will need to choose fonts and colors. Make sure that those fonts are readable as well. Don’t choose a script and think just because you can read it that others will be able to as well. People will click quickly out of the page if you see it.
Vision
What is your vision? Make sure it is clear and consistent. Jot it down on some paper or write a quick note on your phone. You will lose readers if you are all over the place.
Social Media
If you decided your name or domain, make sure that is consistent across your platforms for instance my Instagram, Twitter, Pinterest and Youtube. If your name is taken, just make sure to reference it in your bio.
Step 8: Create Content
All of the things above are completed and it is time to create some content. Plan and write 5 different blog posts that you want to have up for your site when it launches. That way you will have your new readers stay awhile because you have a good amount to start off with. It will also draw them in and make sure they come back for more. Also be sure you create some organization for posting. I utilize Microsoft OneNote to format and write all my blog posts before uploading to my site. It is where all my blog titles go as well as my thoughts.
Step 9: Launch
You have made it thus far and now you are ready to hit that launch button. So hit that publish button.
Congratulations you have started a blog!


Pingback: Best Plugins For Self-Hosted WordPress Blogs - The Shana Life